
Solar energy is a renewable and eco-friendly power source that can help reduce electricity bills. In this guide, we will show you how to create a simple solar panel at home using affordable materials.Solar energy is a renewable and eco-friendly power source that can help reduce electricity bills. In this guide, we will show you how to create a simple solar panel at home using affordable materials.
Step-by-Step Guide:
Step 1: Preparing the Copper Sheet
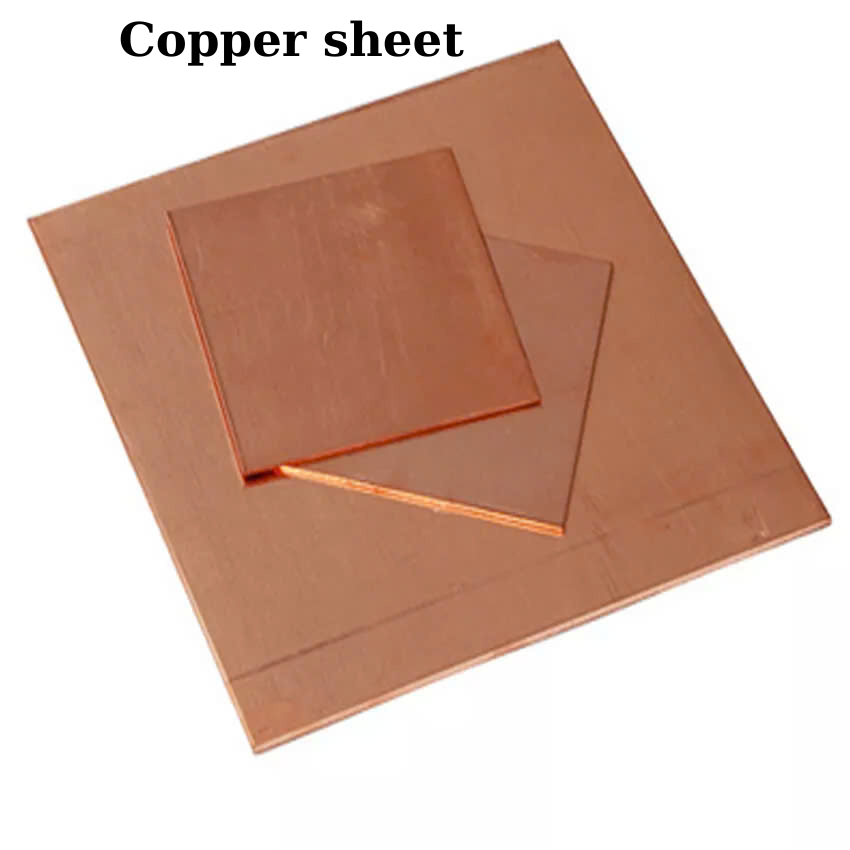
- Cut a piece of copper sheet, approximately the size of a small notepad (6×6 inches).
To begin the process, take a copper sheet and carefully cut a piece measuring approximately 6×6 inches, about the size of a small notepad. Use a sharp pair of metal shears or a cutting tool designed for metal to ensure clean and precise edges. Once cut, smooth the edges with a metal file or sandpaper to remove any sharp or rough areas. This step is crucial to prevent accidental cuts or injuries. Afterward, wipe the copper sheet with a clean cloth to remove any dust or metal shavings. Now, the piece is ready for the next stage of your project or experiment.
- Clean the copper sheet thoroughly using sandpaper to remove any dirt or oxidation.

To ensure the copper sheet is properly prepared, clean it thoroughly using sandpaper. This process helps remove any dirt, oxidation, or unwanted residues that may affect its quality. Gently rub the sandpaper over the surface until it becomes smooth and shiny. Make sure to cover all areas, including the edges, to achieve a consistent finish. Removing oxidation is crucial for better conductivity and durability, especially if the copper sheet is used in electrical or industrial applications. After sanding, wipe the surface with a clean cloth to remove any remaining dust before proceeding with the next steps.
- Place the cleaned copper sheet on a heat source and heat it until it turns dark orange or black due to oxidation. This process usually takes about 30 minutes.

Heat the cleaned copper sheet by placing it on a suitable heat source. As the temperature rises, oxidation occurs, gradually changing the sheet’s color to dark orange or black. This transformation is a result of the copper reacting with oxygen in the air, forming a layer of copper oxide on the surface. The process typically takes around 30 minutes, depending on the heat intensity. Observing the color change is essential to ensure proper oxidation. Once the desired coloration is achieved, remove the sheet from the heat source and allow it to cool before proceeding with any further treatment or experimentation.
- Allow the copper sheet to cool naturally. As it cools, a layer of black cupric oxide will form, which will start to flake off.
Allow the copper sheet to cool naturally after heating. As the temperature gradually decreases, a thin layer of black cupric oxide will form on the surface. This oxide layer results from the reaction between copper and oxygen in the air. Over time, as the cooling process continues, the oxide will become brittle and start to flake off. This natural process helps remove impurities from the surface of the copper sheet, preparing it for further treatment or use. Ensuring a slow and even cooling process enhances the quality of the final material, making it more suitable for various applications in engineering and manufacturing.
- Carefully rinse the copper sheet under running water and remove the loose black oxide using your fingers or a soft brush, but do not scrub too hard.
Gently rinse the copper sheet under running water to remove any remaining residue. Use your fingers or a soft brush to carefully eliminate the loose black oxide without applying excessive pressure. Scrubbing too hard may damage the surface or remove desirable patina. Ensure that all areas are thoroughly cleaned, allowing the natural shine of the copper to emerge. This process helps maintain the integrity of the material while preparing it for further use or treatment. Once cleaned, let the copper sheet air dry or pat it gently with a soft cloth to avoid water spots or streaks.
Step 2: Assembling the Solar Cell
- Take another identical piece of clean copper sheet (without heating it).
Take another identical piece of clean copper sheet without heating it. Observe its appearance and compare it with a heated copper sheet. Notice that the unheated copper sheet maintains its original color and smooth texture, while the heated one may have a darker or oxidized surface. This difference occurs due to oxidation caused by heat exposure. The unheated copper remains in its pure state, making it ideal for applications requiring high conductivity and minimal surface alteration. By comparing both sheets, you can understand the impact of temperature on metal properties, highlighting the importance of controlled heating in industrial and scientific processes.
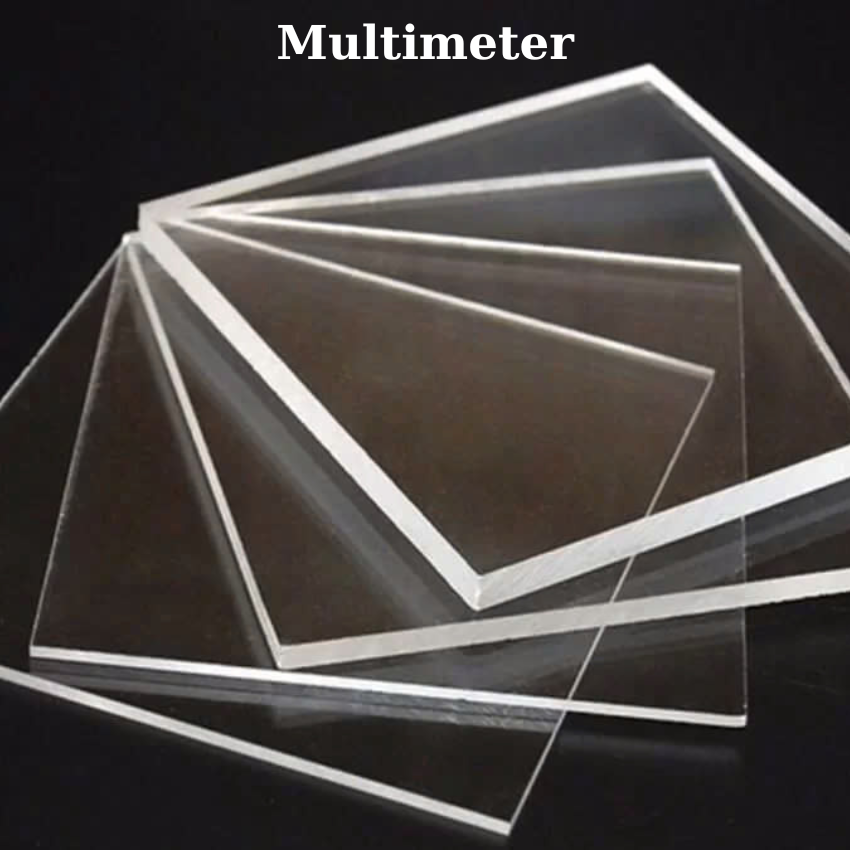
- Place both copper sheets into a clear plastic or glass container, ensuring they do not touch each other.
Place both copper sheets into a clear plastic or glass container, ensuring they do not touch each other. This setup is crucial for maintaining an effective electrochemical reaction. By keeping the copper sheets separated, you prevent short circuits and allow the intended chemical process to occur properly. The container should be large enough to hold the sheets while leaving enough space between them. Additionally, using a transparent container enables easy observation of any changes during the reaction. This method is commonly used in scientific experiments and electrolysis processes, ensuring accuracy and efficiency in various applications involving copper electrodes.
- Mix a saltwater solution by dissolving 2 tablespoons of table salt into warm water and stirring well.

To prepare a saltwater solution, start by dissolving two tablespoons of table salt into a container of warm water. Stir the mixture thoroughly until the salt is completely dissolved. Using warm water helps speed up the dissolving process, ensuring an even distribution of salt throughout the solution. This saltwater mixture can be used for various purposes, such as cleaning, gargling, or even for certain science experiments. Make sure to stir well before use to maintain consistency. If needed, adjust the amount of salt according to the specific purpose of the solution. Always use clean water for the best results.
- Pour the saltwater solution into the container until it covers the copper sheets but does not overflow.
Carefully pour the saltwater solution into the container, ensuring that it completely covers the copper sheets without overflowing. Slowly add the liquid to prevent splashing and maintain an even distribution. The copper sheets should be fully submerged in the solution, allowing proper interaction between the metal and the liquid. Avoid filling the container too much, as excess water may spill over the edges, causing unnecessary mess. Once the copper sheets are adequately covered, check the solution level to ensure it remains stable. This step is crucial for maintaining the effectiveness of the process and achieving the desired chemical reaction.
Step 3: Connecting the Circuit

- Attach an alligator clip to each copper sheet.
To begin, take an alligator clip and securely attach it to one of the copper sheets. Then, repeat the process by connecting another alligator clip to the second copper sheet. Ensure that both clips are firmly attached to establish a stable connection. These clips will serve as conductors, allowing electricity to flow through the circuit. Once connected, verify that the clips are not loose or touching each other, as this may cause a short circuit. Properly securing the alligator clips is essential for maintaining a reliable electrical connection and ensuring the circuit functions as intended.
- Connect the heated (oxidized) copper sheet to the negative terminal and the clean copper sheet to the positive terminal of a multimeter.
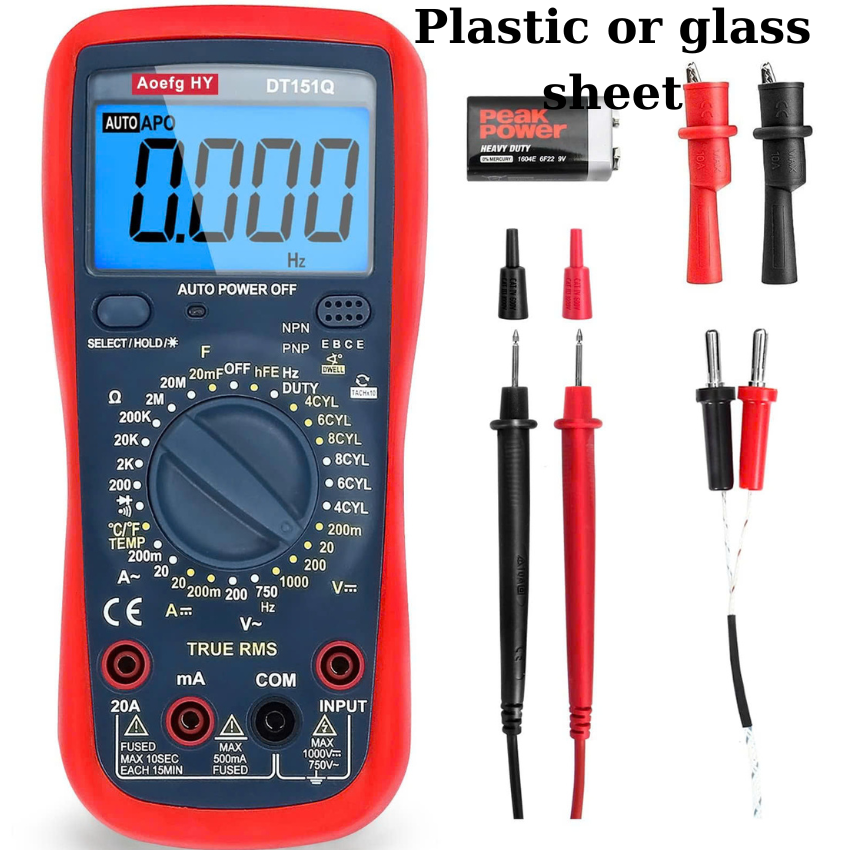
This sheet has undergone oxidation, which affects its conductivity. Next, connect the clean copper sheet to the positive terminal. This setup allows the multimeter to measure the voltage or current flow between the two sheets. Ensuring proper connections is essential for accurate readings. The difference in surface conditions between the oxidized and clean copper sheets creates a potential difference, which can be observed on the multimeter. Double-check all connections to ensure the circuit functions correctly before proceeding with further measurements.
- Place the setup in direct sunlight and observe the voltage output on the multimeter. You should see a small voltage reading, typically around 0.25–0.5V.
Place the setup in direct sunlight to allow the solar panel to absorb energy efficiently. Once exposed to sunlight, use a multimeter to measure the voltage output. You should observe a small voltage reading, typically ranging between 0.25V and 0.5V. This indicates that the circuit is functioning properly and generating electricity. If no voltage is detected, check the connections and ensure that the panel is correctly positioned. Adjusting the angle of the panel may improve the voltage output. This step demonstrates how solar energy can be converted into electrical power for various applications.
Step 4: Testing the Solar Panel
- To test your homemade solar panel, connect it to a small LED light or a low-power device.
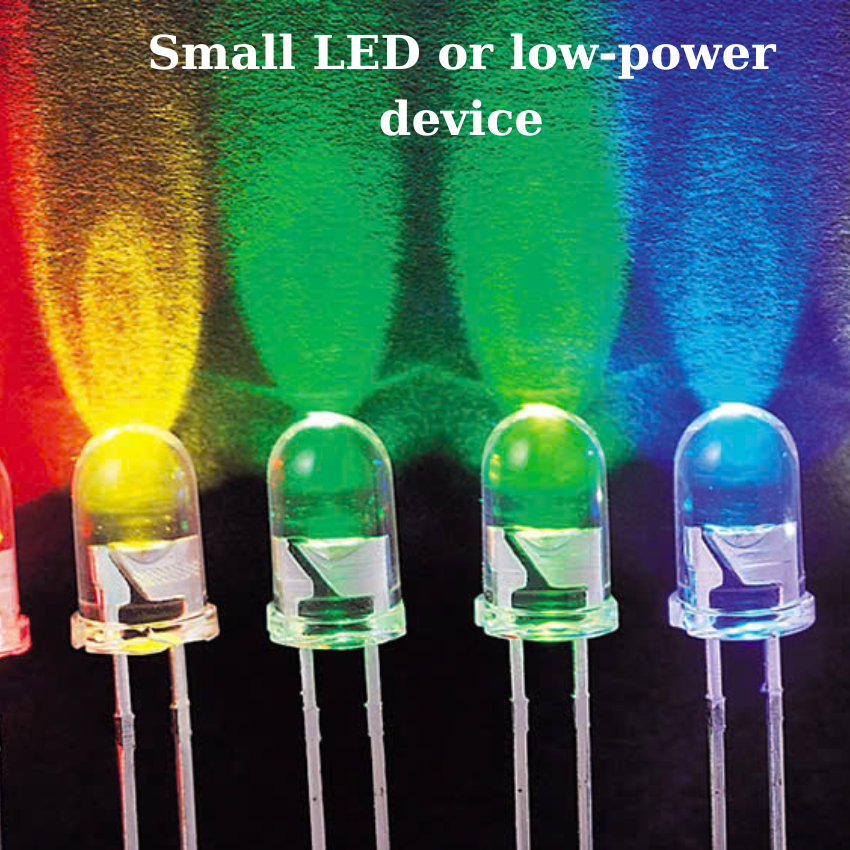
To test your homemade solar panel, begin by placing it in direct sunlight. Then, connect the panel to a small LED light or any low-power device, such as a calculator or a small fan. If the panel is working correctly, the LED should light up or the device should operate. This indicates that the panel is generating electricity from sunlight. Make sure all connections are secure and clean for accurate results. Testing in different light conditions can also help you understand the panel’s efficiency. Always handle electrical components carefully during testing to avoid damage or injury.
- If the voltage is too low, consider connecting multiple panels in series to increase the voltage output.
Testing the Solar Panel involves checking the voltage output using a multimeter. If the measured voltage is too low, it may indicate that the panel is not generating enough power for your needs. In this case, consider connecting multiple solar panels in series. This method increases the total voltage output by adding the voltage of each panel together while keeping the current the same. Ensure that all panels are of the same type and properly aligned to maximize efficiency. Recheck the connections and test the output again to confirm that the voltage has reached the desired level for your system.
Congratulations! You have successfully created a simple solar panel using household materials. While this DIY solar panel may not generate enough electricity to power large appliances, it is an excellent way to understand the basics of solar energy conversion. You can experiment with different materials and improve efficiency for better results. Happy experimenting!
Materials Needed:
- Copper sheet (about 0.5mm thick)
- A heat source (such as a gas stove or propane torch)
- Sandpaper
- Saltwater solution (water + table salt)
- Plastic or glass sheet
- Multimeter
- Connecting wires
- Small LED or low-power device
Leave a Reply